
Swapping in a new belly ring should be one of the more satisfying parts of owning one — not something that leaves you standing in front of a mirror for twenty minutes, afraid you’re doing it wrong. Once you know the actual sequence and a couple of things to check first, it genuinely takes under a minute.
Before we get into the steps, there’s one requirement that matters more than any technique: your piercing needs to be fully healed. If you’re not sure whether it is, our belly piercing aftercare and healing timeline guide covers what a healed piercing actually looks and feels like, since navel piercings famously take longer than most people expect.
Before You Start: Is Your Piercing Ready?
Navel piercings typically take six to twelve months to heal fully, even when the surface looks completely normal much earlier. Changing jewelry too soon is one of the most common causes of irritation, so if your piercing is newer than that, or it’s ever painful, swollen, or seeping, hold off and let a professional piercer handle the swap instead.
It’s also worth confirming you have the right replacement on hand. Mixing up gauge or length is easy to do by accident, and our belly ring gauge and length guide is the fastest way to double-check before you buy.
Timing matters for another reason too: changing jewelry right after a shower is often easiest, since the skin around the piercing is warmer and slightly more relaxed than it is first thing in the morning. It’s a small thing, but it can make an otherwise fiddly swap noticeably smoother.
What You’ll Need
- Your new belly ring, cleaned beforehand with mild soap and water
- A sterile saline spray or wound wash
- Clean paper towels or a soft cloth
- Optional: clean non-latex gloves for extra grip
Saline Solution vs. Piercing Aftercare Spray
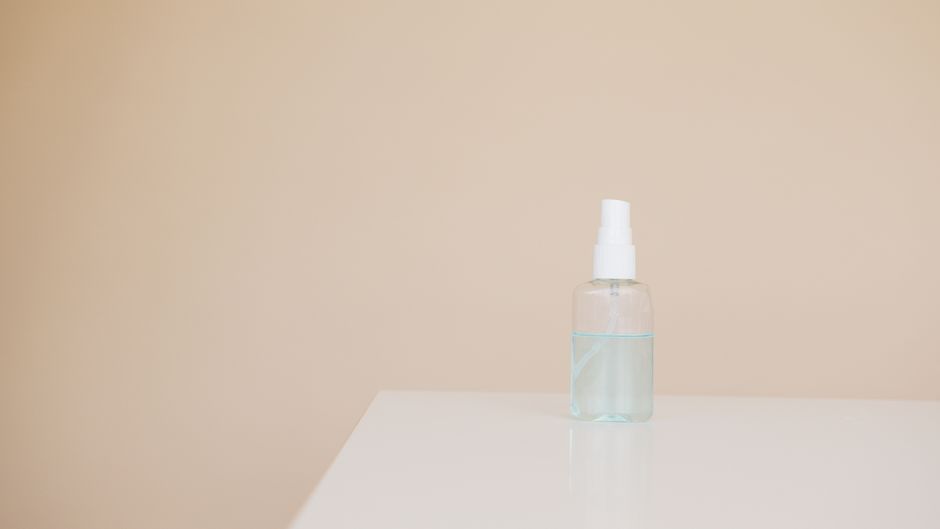
Plain sterile saline is the simplest option for this kind of quick clean, and it’s gentle enough to use every time you change jewelry without drying out or irritating the skin. Pre-mixed wound wash sold specifically for piercings works the same way and is convenient if you’d rather not mix your own from salt and water.
Skip anything containing alcohol, hydrogen peroxide, or fragrance for this step. They’re often assumed to be safer because they’re stronger disinfectants, but all three are actually harsher than plain saline and can irritate skin that’s otherwise perfectly healthy, especially with the frequent contact that comes from regularly changing jewelry.
Step-by-Step: Removing Your Old Ring
- Wash your hands thoroughly. This is non-negotiable — anything touching the piercing site should start with clean hands.
- Clean the area. Spray a little saline solution around the piercing and pat it dry.
- Steady the bottom ball. Hold it still with one hand while you unscrew the top ball counterclockwise with the other.
- Slide the bar out. Once the top ball is off, gently pull the curved bar down and out through the bottom of the piercing.

If the ball won’t budge, a small piece of rubber (even a balloon or a clean glove finger) can give you extra grip without needing much force. Twisting hard or forcing a stuck ball is exactly how tiny scratches and slip-ups happen.
Step-by-Step: Inserting New Jewelry
- Line up the bar. Guide the new curved barbell into the bottom of the piercing channel first.
- Ease it through. Push gently upward until the bar exits through the top of the piercing. It should move smoothly with light pressure — never force it.
- Attach the top ball. Screw it on until snug, but stop as soon as it’s secure. Overtightening can make it harder to remove next time and puts unnecessary pressure on the piercing.
- Clean up. Give the area one more light spray of saline and pat dry with a clean towel.
Closure Types Compared
Not every belly ring uses the same closure mechanism, and knowing which type you’re working with makes the whole process easier.
| Closure Type | How It Works | Ease of Changing |
|---|---|---|
| Externally threaded | Ball screws onto a threaded post | Easy — most common, beginner-friendly |
| Internally threaded | Threading sits inside the ball, not the post | Easy, and gentler on the piercing channel |
| Push-fit (threadless) | Ball snaps into place under tension | Very easy, but needs a firm, confident push |
| Captive bead ring | Bead held in place by ring tension | Trickier — often easier with ring-opening pliers |
If you’re weighing whether to switch from your current barbell to a ring style, our curved barbell vs. captive bead ring comparison goes deeper into the tradeoffs between the two.
What to Do If Jewelry Feels Stuck
Every so often, jewelry simply won’t cooperate, and that’s fine — it happens even to people who’ve changed their rings dozens of times. According to Healthline’s overview of navel piercing complications, repeated irritation from forcing jewelry in or out is one of the more common causes of raised scarring at the site, so it’s worth being patient rather than pushing through resistance.
If a ball won’t unscrew, the bar won’t slide through, or the piercing feels tender when you try, stop and see a professional piercer. It typically takes them under a minute, and it avoids the kind of irritation that turns a five-minute jewelry swap into a setback for your healing.
Common Mistakes to Avoid
- Changing jewelry before the piercing is healed. This is the single biggest cause of complications from a jewelry swap.
- Skipping the hand wash. It’s the easiest step to rush past and the one most likely to introduce bacteria.
- Forcing a stuck ball or bar. Extra grip helps; extra force usually just causes irritation.
- Overtightening the closure. Snug is enough — jewelry that’s cranked down hard is harder on the piercing and harder to remove later.
How Often Can You Safely Change It?
Once you’re fully healed, there’s no strict limit — plenty of people change styles for different outfits or occasions without any issue. The only real rule is to keep following basic hygiene each time: clean hands, clean jewelry, and a quick saline wipe afterward. If you’re building out a small rotation, our gold vs. silver belly ring guide is worth a look before you buy multiples, since the two metals wear differently with frequent handling.
If you’re rotating styles anyway, it’s a good excuse to try something newer than what’s already in your collection — our roundup of 2026 belly ring trends covers what’s actually worth adding this year, from floating styles to mixed metals.
Frequently Asked Questions
How long should I wait before changing my belly ring for the first time?
Most piercers recommend waiting the full six-to-twelve-month healing window before the very first change, even if the piercing looks healed sooner.
Is it normal for a new ring to feel tight at first?
A little snugness right after insertion is normal and usually settles within a day. Persistent tightness or pressing pain is worth checking against your belly button ring size before assuming anything is wrong with the piercing itself.
Can I change my belly ring by myself with no experience?
Yes, once it’s fully healed — the process is genuinely simple once you’ve done it once. If you’re nervous the first time, most piercing studios will walk you through it in person at no cost.
What if I drop the ball or lose a piece?
It happens more often than you’d think. Keep the piercing covered with a clean bandage temporarily and avoid leaving it completely empty for long, since navel piercings can start to close faster than other piercings.
Should I take my belly ring out for exercise or sleeping?
Generally no, once it’s healed — a well-fitted ring shouldn’t need to come out for everyday activity. If a particular sport or sleeping position consistently irritates it, that’s usually a sign the length needs adjusting rather than a reason to remove the jewelry regularly, since frequent in-and-out handling is itself a common source of irritation.
Final Thoughts
Changing a belly ring is a five-minute task once you know the sequence: clean hands, steady the old ball, slide the bar out, guide the new one in, and finish with another quick clean. Go slowly the first few times, and don’t be afraid to ask a piercer for help if anything feels stuck — it’s far better than forcing it.
Leave a Reply